Salt seems like the easiest ingredient in your dough to get right. It's just sodium chloride. Measure it, dump it in, move on.
Except that salt controls more of what happens to your dough than any other ingredient besides flour and water. It shapes the gluten network, regulates how fast your yeast works, determines whether the crust browns or stays pale, and makes the difference between a crust that tastes like something and one that tastes like wet cardboard. If you've ever had a cold-fermented dough blow out in the fridge overnight, or pulled a pizza out of the oven and wondered why the crust had no color, salt is one of the first places to look.
This guide covers how to pick the best salt for pizza dough, how to nail the right salt percentage for pizza dough, and why the type of salt for pizza dough you grab off the shelf matters more than most recipes let on.
What Does Salt Actually Do in Pizza Dough?
Salt isn't seasoning. It's a functional ingredient that affects your dough at every stage from mixing through the final bake. Here's what it's doing and why you should care.
Flavor
Without salt, dough tastes flat. Not under-seasoned flat - genuinely papery and lifeless, even if you used great flour and gave it a full 48-hour cold ferment. Salt is a flavor potentiator. It suppresses bitter compounds in the flour and amplifies the natural wheat sweetness and the complex organic acids that develop during fermentation. A well-salted dough tastes layered. An unsalted one tastes like nothing.
Gluten Strength
Salt is hygroscopic - it attracts and binds water molecules. When dissolved in dough water, sodium and chloride ions interact with the charged amino acid side chains on glutenin and gliadin, the two proteins that combine to form gluten. Those ionic interactions tighten and stabilize the gluten network, making the dough less tacky, more elastic, and better at trapping the CO₂ gas that yeast produces during fermentation.
In practical terms: a properly salted dough is easier to stretch, holds its shape during proofing, and doesn't tear when you open it up on the counter. If you're fighting sticky, slack dough that won't cooperate, insufficient salt is one of the first things worth checking.
Fermentation Control
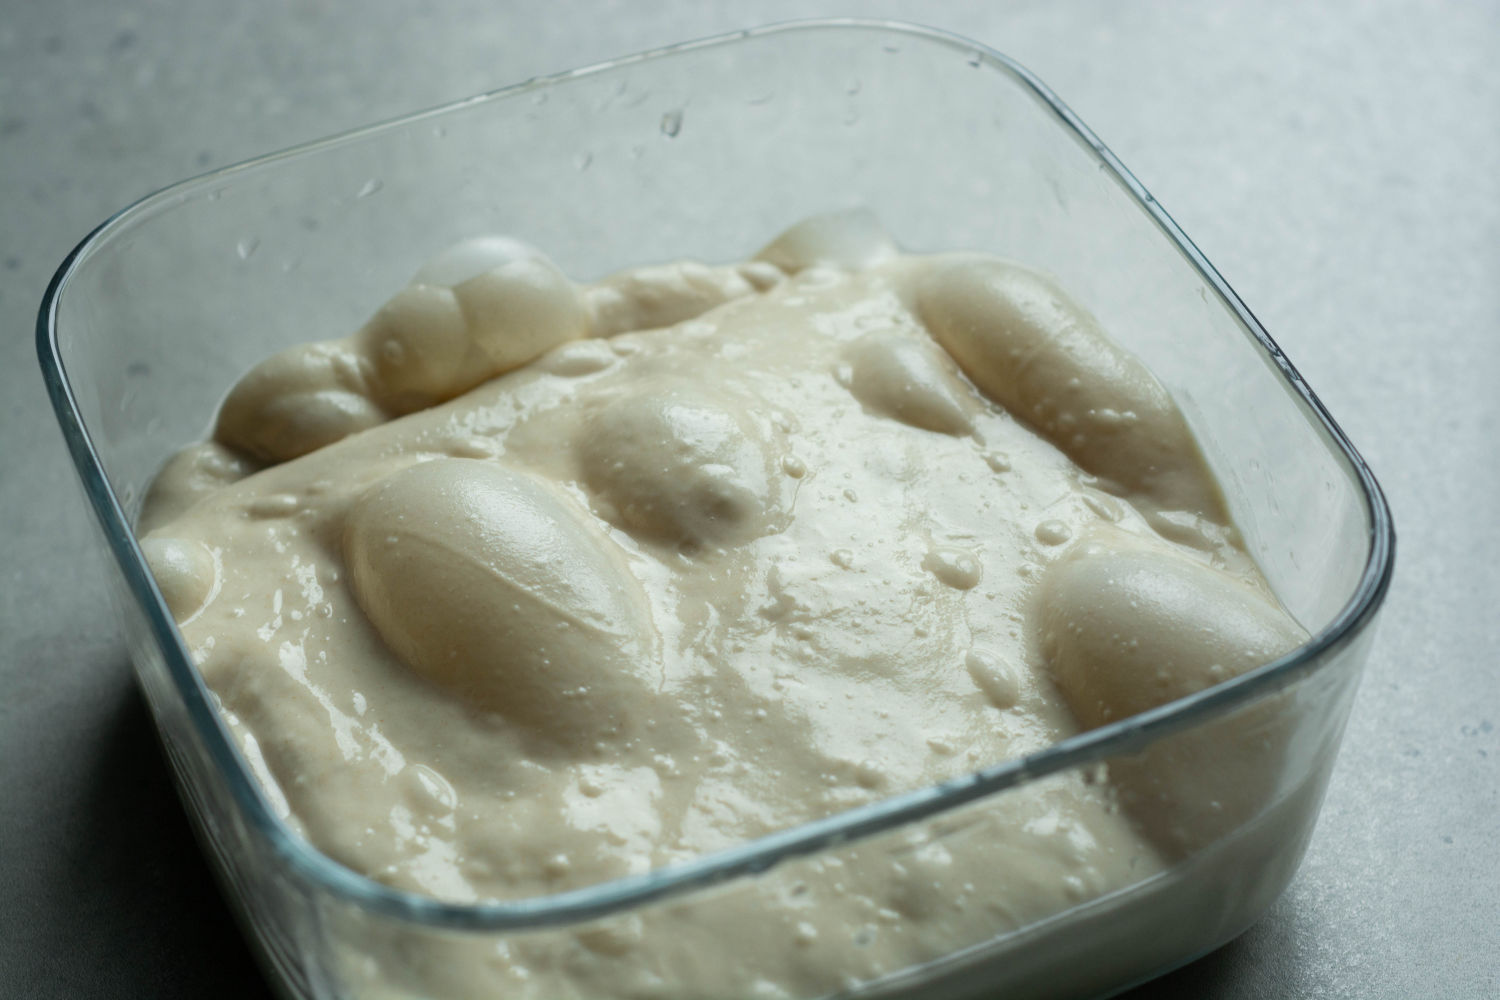
Salt slows yeast activity through osmotic pressure. Dissolved sodium chloride draws moisture out of yeast cells, reducing their metabolic rate. That's not a problem - it's a feature. Without salt pumping the brakes, yeast will chew through available sugars too fast, especially during longer room-temperature or cold ferments.
This is most noticeable on multi-day cold-fermented doughs. Salt at a proper percentage gives you a comfortable 48- to 72-hour window where the dough develops complex flavor without over-proofing. Without it, the gap between perfectly proofed and blown-out shrinks to almost nothing.
Crust Color and Browning
Here's where salt connects to something you can see. By slowing yeast consumption of simple sugars (glucose and fructose), salt preserves more residual sugar in the dough at bake time. Those leftover sugars drive two browning reactions during baking:
- Maillard reaction - amino acids react with reducing sugars at high temperatures, producing deep golden-brown color and complex savory flavor
- Caramelization - sugars break down and polymerize above roughly 320°F, adding sweetness and color
A dough with too little salt tends to bake pale and bland because the yeast consumed all available sugar before the dough ever hit the oven. If your crusts consistently look anemic despite proper oven temps on a preheated pizza steel or stone, low salt is a likely culprit.
Moisture Retention
Salt's hygroscopic nature also helps the baked crust hold onto moisture after it comes out of the oven. A well-salted crust stays tender and slightly chewy longer, while an under-salted crust dries out and turns brittle faster. This matters less if you're eating the pizza immediately (and you should be), but it's worth knowing if you par-bake crusts for later or want your reheated leftovers to hold up.
Salt-Type Comparisons: Which Salt Belongs in Your Dough?
All cooking salts are primarily sodium chloride. The differences that matter for dough are crystal shape, density, purity, and what else is - or isn't - mixed in.
| Salt Type | Crystal Structure | Weight per Teaspoon | Pizza Dough Verdict |
|---|---|---|---|
| Fine Sea Salt | Fine, uniform granules | ~5.5 - 6.0 g | Best overall choice |
| Diamond Crystal Kosher | Hollow pyramid flakes | ~2.8 - 3.0 g | Excellent, clean flavor |
| Morton Kosher | Dense, flat flakes | ~4.8 - 5.0 g | Good, but dangerous by volume |
| Table Salt (non-iodized) | Fine cubes | ~5.5 - 6.0 g | Works in a pinch |
| Iodized Table Salt | Fine cubes + additives | ~5.5 - 6.0 g | Avoid |
| Maldon / Fleur de Sel | Large, delicate flakes | Varies widely | Finishing salt only |
| Pink Himalayan | Coarse or fine rock | ~5.0 - 6.0 g (fine grind) | Fine, but no advantage |
Fine Sea Salt
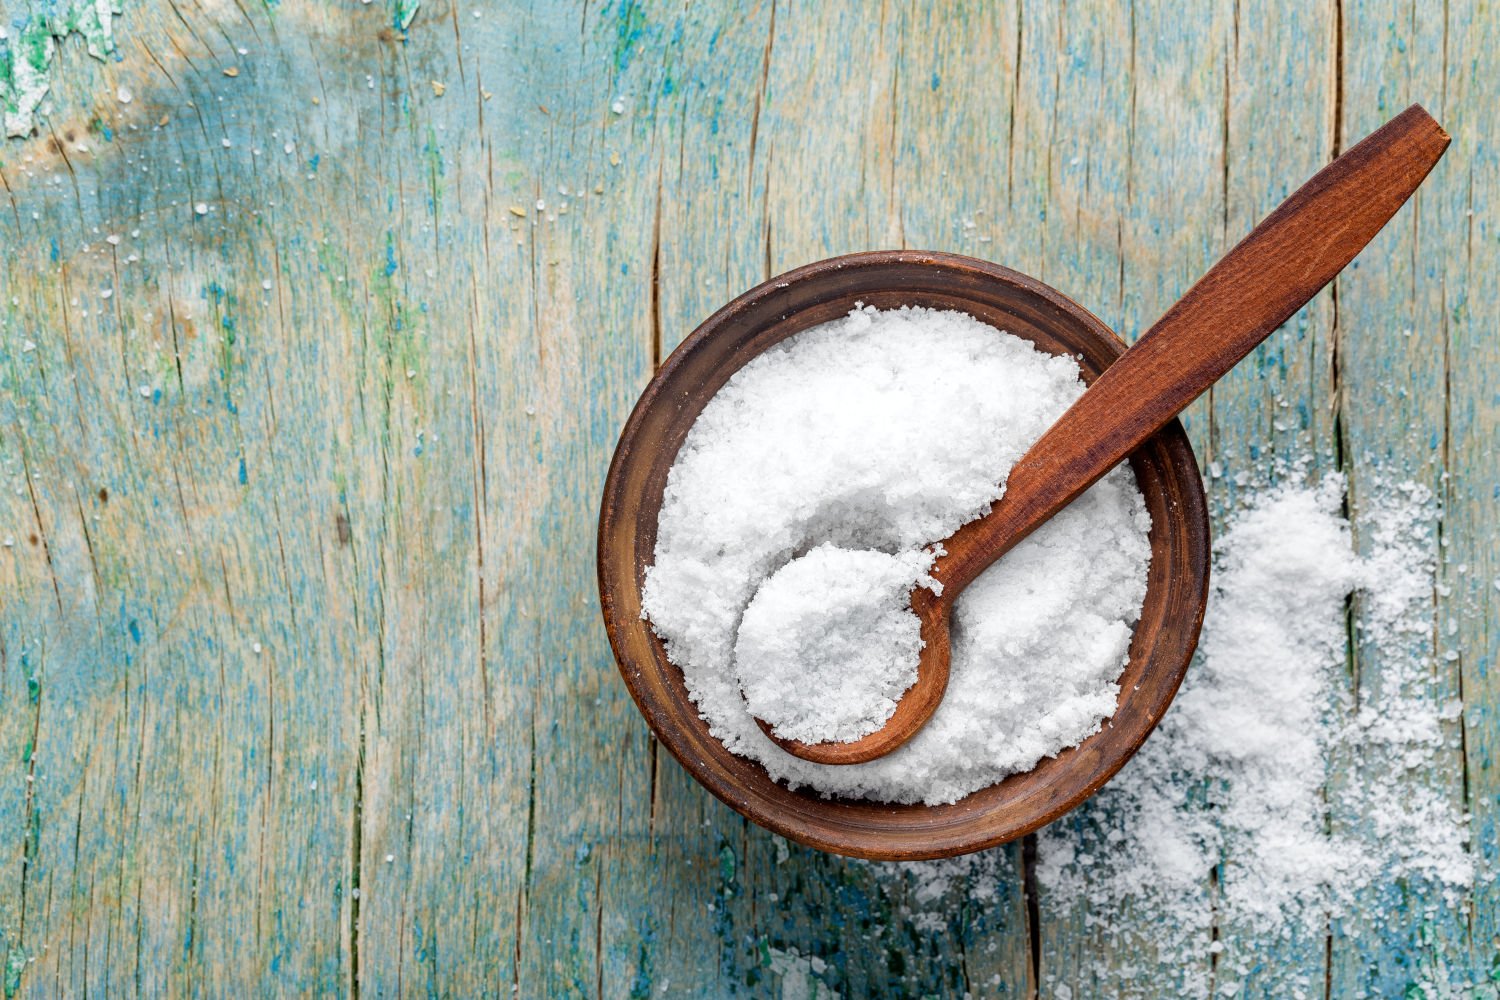
Fine sea salt is produced by evaporating seawater. It dissolves quickly and predictably in room-temperature water without leaving gritty residue at the bottom of your bowl, and it has a clean mineral profile without additives. The crystal size is uniform enough that it distributes evenly through the dough during kneading.
This is what most Italian pizzerias use. It's what the AVPN specifies (more on that below). If you want a single salt that works for every pizza style and never creates issues, fine sea salt is the answer. I keep a bag of fine sea salt on hand and it's what I reach for most of the time.
Kosher Salt: Diamond Crystal vs. Morton
Kosher salt dominates American home cooking because the coarse flakes are easy to pinch and sprinkle. It works well in dough, but there's a critical distinction between the two major brands that trips people up constantly - and it's the single best argument for why volume measurements don't work for salt.
Diamond Crystal Kosher Salt uses a patented evaporation process that creates light, hollow, pyramid-shaped flakes. A teaspoon weighs roughly 2.8 to 3.0 grams.
Morton Kosher Salt is made by rolling salt crystals under high pressure into flat, dense flakes. A teaspoon weighs roughly 4.8 to 5.0 grams.
That's nearly double the weight for the exact same volume. If a recipe says "1 tablespoon of kosher salt" and the author developed it with Diamond Crystal, swapping in Morton means you're adding almost twice as much sodium chloride. That's the difference between a pleasant 2.5% salt dough and something unpleasantly salty at 4%+.
Diamond Crystal also dissolves faster and has a cleaner taste because it contains no anti-caking agents. Morton adds yellow prussiate of soda as an anti-caking additive - technically harmless, but some bakers notice a slight difference in clean-tasting applications like bread.
Table Salt and Iodized Salt
Standard non-iodized table salt has a fine, uniform cubic crystal structure. It dissolves fast, measures predictably by weight, and produces perfectly good dough. If it's all you have, it works.
Iodized table salt is the one to avoid. Potassium iodide is added for public health reasons (thyroid function), and in a quick-rise dough you'd never notice. But in a 24- to 72-hour cold ferment where flavors have time to concentrate, iodized salt can produce a faint metallic, chemical off-taste. Anti-caking agents like calcium silicate can also cloud your dough water slightly and interfere with delicate yeast-produced flavors.
It's not going to ruin a pizza. But when you're putting in the effort to cold-ferment and use good flour, there's no reason to let a $3 box of salt introduce off-notes.
What About Maldon, Fleur de Sel, Pink Himalayan, and Celtic Grey?
These come up a lot, so let's cover them quickly.
Maldon and fleur de sel are finishing salts - delicate, expensive flakes meant to be seen and tasted on a finished dish. Dissolving them into dough water destroys the texture you're paying for. Save them for sprinkling over a finished focaccia or on top of a white pizza.
Pink Himalayan salt is mined rock salt with trace minerals (iron oxide gives it the color). Ground fine, it works perfectly well in dough. The trace minerals are present in such small quantities that they have no meaningful effect on fermentation, gluten, or flavor compared to regular sea salt. No advantage, but no downside either.
Celtic grey sea salt (sel gris) is a moist, mineral-rich salt from the coast of Brittany with a slightly lower sodium chloride content (around 94-95% vs. 97-99% for standard sea salt) because of its higher moisture and mineral load. If you grind it fine, it works. Some bakers claim the extra magnesium and calcium add subtle depth, but realistically the difference is marginal.
None of these specialty salts will make your pizza noticeably better than fine sea salt or Diamond Crystal. They're perfectly fine if that's what's in your pantry - just weigh them.
The Volumetric Trap: Why You Need to Weigh Your Salt
The Diamond Crystal vs. Morton situation is the clearest illustration, but the principle applies across every salt type. Crystal shape and density vary so much between brands - and sometimes between batches of the same brand - that volume measurements are fundamentally unreliable for salt in dough.
Here's what it looks like in practice. Say your recipe targets 15 grams of salt:
| Salt Type | Volume Equivalent for 15g |
|---|---|
| Fine Sea Salt | ~2.5 teaspoons |
| Morton Kosher | ~3.0 teaspoons |
| Diamond Crystal Kosher | ~5.0 - 5.5 teaspoons |
Same weight. Wildly different scoops. A recipe that says "1 tablespoon of salt" without specifying the type could mean anywhere from 9g to 18g depending on what's in your pantry. That swing can push your dough from under-salted and slack all the way to over-salted and tight.
The fix is a digital kitchen scale. A decent one costs $25-30 and reads in 1-gram increments, which is accurate enough for salt in most home batches. (If you're making a single dough ball where your salt amount drops below about 3g, a jeweler's scale with 0.01g resolution is worth the $15 investment - same logic as weighing tiny amounts of yeast.)
PizzaLogic Tip: The PizzaLogic dough calculator outputs all ingredient amounts in grams, including salt. Set your target salt percentage and your total dough weight, and it handles the math - no volume conversions, no brand-specific guesswork.
Finding the Right Salt Percentage for Pizza Dough
In baker's percentages, every ingredient is expressed as a percentage of total flour weight. Flour is always 100%, and everything else is relative to it. So "2.5% salt" means 25 grams of salt per 1,000 grams of flour, or 12.5 grams per 500 grams of flour.
The working range for salt percentage for pizza dough is 2.0% to 3.0%, with different styles sitting at different points in that range based on how they're baked and what goes on top.
| Pizza Style | Typical Salt % | Why It Lands There |
|---|---|---|
| Neapolitan (AVPN) | 2.5% - 3.2% | High oven temps (800-950°F) and 60-90 second bakes demand strong gluten and leave little time for browning - higher salt retains more residual sugar and keeps the network tight under extreme heat |
| New York Style | 2.0% - 2.5% | Moderate hydration, cold fermented, baked at 500-550°F. Balanced salt supports the longer bake without over-browning |
| Detroit / Sicilian / Pan | 1.8% - 2.2% | Heavy, salty toppings (Wisconsin brick cheese, pepperoni, olives) mean the dough needs less salt to keep the overall bite in balance |
| Sourdough / Wild Yeast | 2.5% - 3.0% | Higher salt restrains aggressive wild yeast and lactic acid bacteria during extended fermentation, preventing excessive acidity and over-proofing |
| Same-Day / Quick | 2.0% - 2.5% | Standard range. Less critical because short ferments don't give yeast enough time to cause problems even at the lower end |
| Low-Sodium Target | 1.2% - 1.5% | The functional floor before dough loses meaningful structure and flavor |
For most home bakers working with bread flour or Italian 00 flour in a home oven or backyard pizza oven, 2.2% to 2.5% salt is the sweet spot. It gives enough structural support to handle higher-hydration doughs without making the finished crust taste salty.
What 2.5% Actually Looks Like in a Home Batch
To make this concrete: say you're making four dough balls at 250g each (a typical weeknight batch for a home oven). The PizzaLogic calculator would give you roughly:
- Total flour: ~570g (depending on hydration)
- Salt at 2.5%: ~14.3g
That's about 2.5 teaspoons of fine sea salt, or about 5 teaspoons of Diamond Crystal. Identical weight, radically different volumes. This is exactly why the calculator outputs grams.
The Neapolitan Specification: AVPN Standard
If you're chasing authentic Neapolitan pizza, the Associazione Verace Pizza Napoletana (AVPN) publishes strict guidelines covering every ingredient. Their salt spec is straightforward, but the way they express it catches people off guard.
Unlike standard baker's percentages where everything is relative to flour weight, the AVPN scales salt relative to water:
AVPN Standard: 50 to 55 grams of fine sea salt per 1 liter (1,000g) of water.
To translate that into baker's percentages you need to know the hydration level. Typical Neapolitan hydration runs 58% to 60% (580g to 600g of water per 1,000g of flour). Working that through:
- At 58% hydration: 580g water × 0.050 to 0.055 = 29g to 31.9g salt per 1,000g flour = 2.9% to 3.2%
- At 60% hydration: 600g water × 0.050 to 0.055 = 30g to 33g salt per 1,000g flour = 3.0% to 3.3%
That puts Neapolitan dough at the upper end of the salt spectrum, which makes sense. At 800-950°F, the bake is 60 to 90 seconds. Higher salt keeps the gluten tight under extreme heat stress and ensures enough residual sugar survives fermentation to produce those signature leopard spots and charred bubbles on the cornicione.
Water-First Mixing
In Neapolitan tradition (impasto diretto), salt is dissolved completely into room-temperature water before any flour or yeast is added. This isn't just tradition for tradition's sake. Dissolving salt first creates a uniform ionic solution so every particle of flour encounters the same salt concentration as it hydrates. Dump dry salt onto a partially mixed dough and you risk concentrated pockets of high-salt and low-salt zones that never fully equalize - leading to uneven gluten development and inconsistent proofing within the same batch.
When to Add Salt: Timing Matters
Salt timing is a real variable, not a minor detail. When salt enters the dough affects gluten formation, enzyme activity, and hydration rate.
Direct Mix (No Autolyse)
For a standard direct dough - the kind most home bakers make - dissolve salt into your water along with your yeast, then add flour. This is the simplest, most reliable approach. The salt is evenly distributed from the first moment flour touches liquid.
You'll sometimes hear that salt "kills yeast" and needs to be kept separate. Salt slows yeast, but at normal dough concentrations (2-3%), it doesn't kill anything. Yeast and salt coexist in the same solution for the entire fermentation anyway. Dissolving them together in the mixing water is perfectly fine.
Autolyse
An autolyse is a rest period where only flour and water are mixed and left to sit for 20 to 60 minutes before anything else is added. During this rest, flour enzymes begin breaking down starches and building extensible gluten chains without interference.
Salt must stay out of an autolyse. Three reasons:
- Salt competes with flour proteins for water molecules, slowing hydration
- Salt tightens gluten prematurely, restricting the extensibility that makes autolyse valuable in the first place
- Salt inhibits protease enzyme activity, which is a key part of what builds dough extensibility during the rest
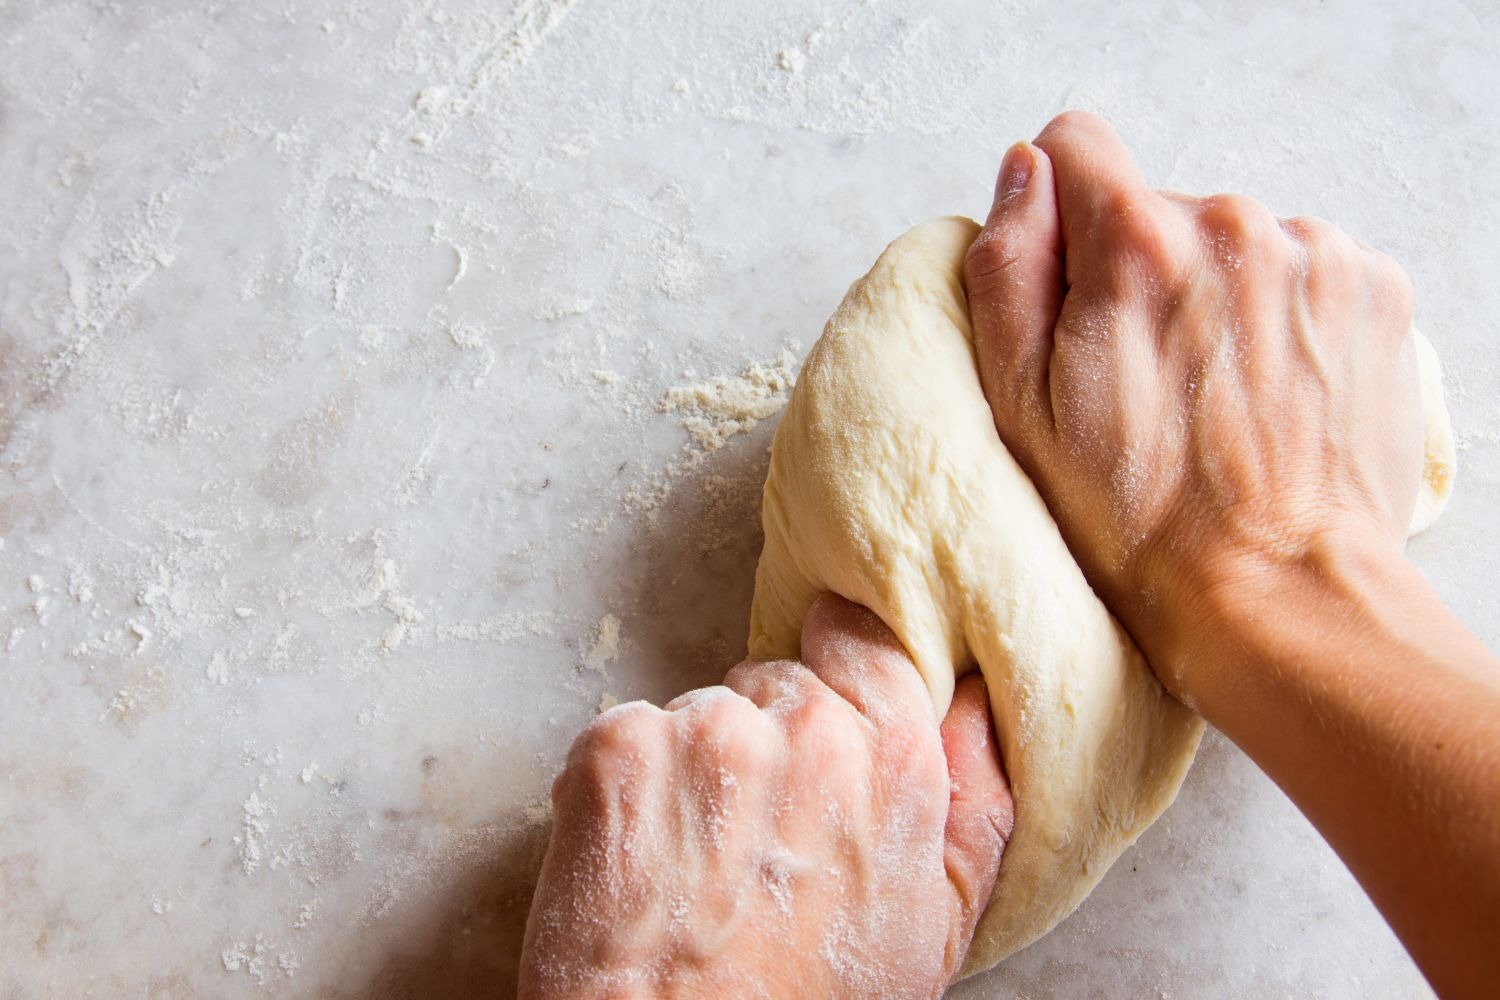
After your autolyse is complete, sprinkle the weighed salt evenly over the surface of the relaxed dough and fold or knead until it's fully incorporated. The dough will tighten noticeably as the salt integrates - that's the gluten responding to the ionic charge.
I go into the full autolyse technique - timing, when to skip it, and a recipe - in the autolyse guide. For this post, the key point is: salt always comes after, never during.
Salt in Preferments
If you're using a poolish, biga, or sourdough levain as a pre-ferment, don't add salt to the preferment itself. Pre-ferments rely on vigorous, unchecked yeast activity over 8 to 24 hours to develop the organic acids, esters, and alcohols that give your crust complex flavor. Adding salt would suppress that activity and undermine the whole point.
All of the salt goes into the final dough when you combine the preferment with the remaining flour and water. This is universal across bread baking, not just a pizza thing.
Salt and Cold Fermentation
Cold fermentation is where salt's role as a fermentation regulator becomes most obvious.
At fridge temperatures (38-42°F), yeast activity slows down, but it doesn't stop. Over 24 to 72 hours, even cold yeast can over-proof a dough if nothing else is holding it back. Salt at 2.2% to 2.5% provides that additional restraint. It widens the window of acceptable proof times, giving you a comfortable 48 to 72 hours where the dough develops complex flavor without blowing out.
Drop the salt to 1.5% and you'll notice your dough balls puffing up faster in the fridge and becoming harder to shape by day two or three. If you're pushing ferments to 96+ hours (which some competition bakers do), bumping salt to 2.8% or even 3.0% gives extra headroom. The tradeoff is a slightly saltier crust, so pull back on salty toppings to compensate.
What Happens If You Skip Salt or Drop Too Low
I forgot to add salt to a batch of 72-hour cold-fermented dough exactly once. Here's what happened:
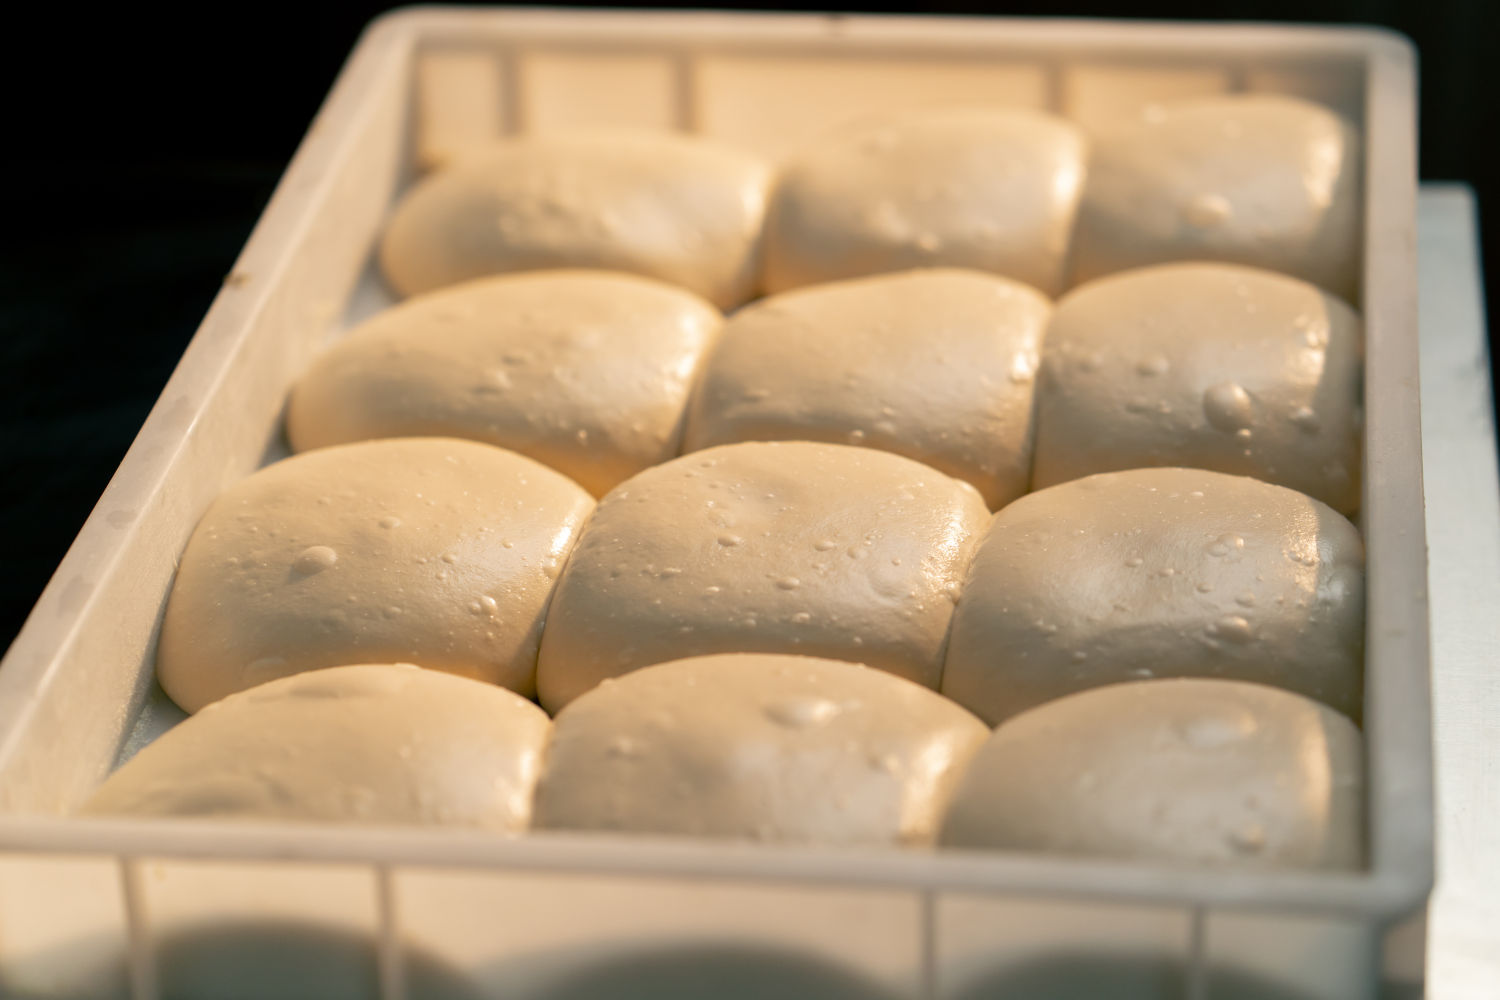
Runaway fermentation. The dough balls roughly doubled in size in the fridge in half the normal time. By hour 36, what should have been tight, round balls looked like marshmallows - surface bubbles everywhere.
Slack, sticky dough. Without the ionic bonds tightening the gluten network, the dough was tacky, limp, and tore at the edges immediately when I tried to open it. No chance of passing a windowpane test.
Pale crust. The baked crust came out flat and anemic, even at 550°F on a preheated pizza steel. The hyperactive yeast had consumed all available simple sugars during proofing, leaving almost nothing for Maillard browning.
No flavor. The finished pizza tasted hollow. Good sauce and fresh mozzarella couldn't save it. Without salt amplifying the wheat flavors, the crust contributed nothing.
That batch went in the compost.
The Functional Minimum
If you need to reduce sodium for health reasons, 1.5% by flour weight is the practical floor. Below that:
- Dough becomes noticeably stickier and harder to handle
- Fermentation windows shorten - your proofing schedule gets less forgiving
- Crust browning suffers
- Flavor drops off sharply
At 1.5% you can still produce a workable dough, but you'll want to make compensating adjustments: reduce hydration by 2-3% to account for the weaker gluten, shorten your cold ferment to no more than 24-36 hours, and consider adding a small amount of sugar (0.5-1%) or diastatic malt powder to help with browning. For the full playbook - the structural fixes, a complete recipe, and sauce and topping strategies - see my guide to building a low-sodium pizza crust.
Salt Substitutes: Potassium Chloride and Low-Sodium Options
For bakers who need to cut sodium significantly, potassium chloride (KCl) is the most common substitute. It carries a similar ionic charge, so it tightens gluten and slows yeast in roughly the same way sodium chloride does. The structural and fermentation effects are comparable.
The catch is taste. Potassium chloride has a bitter, metallic aftertaste that becomes more pronounced at higher concentrations. At 100% substitution, most people find it unpleasant.
The practical solution is a 50/50 blend of fine sea salt and potassium chloride. This cuts sodium by half while keeping the bitter edge below most people's detection threshold. Morton sells a product called Lite Salt that's exactly this blend if you don't want to mix your own.
With a 50/50 blend at 2.5% total, you're getting roughly 1.25% equivalent sodium - a meaningful reduction without sacrificing dough performance or crust flavor.
This is a topic that deserves its own post eventually, especially for bakers managing dietary restrictions while still wanting good pizza. For now, the 50/50 blend is the best starting point.
Troubleshooting Common Salt-Related Problems
Dough is too tight and tears during stretching. Possible over-salting - especially if you measured by volume using a denser salt than the recipe intended. Verify your gram weight against the target percentage. For most home styles, aim for 2.2-2.5%.
Dough is slack, sticky, and over-proofs quickly. Not enough salt. First, confirm you actually added it - this happens to everyone at least once. Then check your percentage and make sure you weighed accurately.
Crust tastes metallic or has an off-flavor. If you're using iodized table salt, switch to fine sea salt or Diamond Crystal. If you're already using those, check your water quality - high mineral content in tap water can amplify mineral flavors. The flour guide has a note on water quality and how it affects dough behavior.
Salt isn't dissolving fully. You're probably using a coarse salt (coarse sea salt, kosher, or Himalayan chunks) and adding it directly to the flour rather than dissolving it in water first. Either switch to a fine grind or dissolve it in your dough water before mixing. Undissolved crystals create concentrated pockets that locally overtighten the gluten and cause uneven fermentation.
Crust is pale despite proper fermentation timing. Along with oven temperature (make sure your baking surface is thoroughly preheated for at least 45-60 minutes), check whether your salt level is high enough. Below 2%, you may not be retaining enough residual sugar for proper Maillard browning.
Dough isn't rising at all. Salt is rarely the sole cause of dough that won't rise, but if you dramatically over-salted (4%+ by accident), it can suppress yeast activity enough to stall fermentation.
Summary
The salt decision is simpler than the number of options makes it look. Here's the short version:
Pick fine sea salt or Diamond Crystal Kosher. Both dissolve cleanly, taste neutral, and contain no additives that interfere with fermentation. Fine sea salt is the easier default because its density is consistent and doesn't require brand-specific volume conversions.
Weigh it. Crystal size varies too much between salt types for volume measurements to be reliable. A digital kitchen scale and the PizzaLogic dough calculator take the guesswork out of hitting your target every time. If your salt amount is small enough that 1-gram resolution feels imprecise, a $15 jeweler's scale solves that.
Target 2.2% to 2.5% for most home baking. Push toward 2.8-3.0% for Neapolitan-style bakes in high-heat ovens or extended cold ferments beyond 72 hours. Pull down toward 1.8-2.0% for heavily topped pan styles like Detroit where salty cheese and cured meats are doing a lot of the seasoning work.
Hold salt out of autolyse rests and preferments. Add it at the final mix so it doesn't interfere with enzyme activity or pre-ferment flavor development.
Dissolve before mixing when possible. Adding salt to your water before incorporating flour gives you the most even distribution throughout the dough.
Get the salt right and everything else about your dough becomes easier to manage - the gluten behaves, fermentation stays on schedule, and the finished crust actually tastes like something worth eating.
Building a recipe from scratch or dialing one in for your oven? The PizzaLogic dough calculator lets you set your salt percentage alongside hydration, yeast, and flour for any style and batch size - and it saves your recipes so you can iterate between bakes.