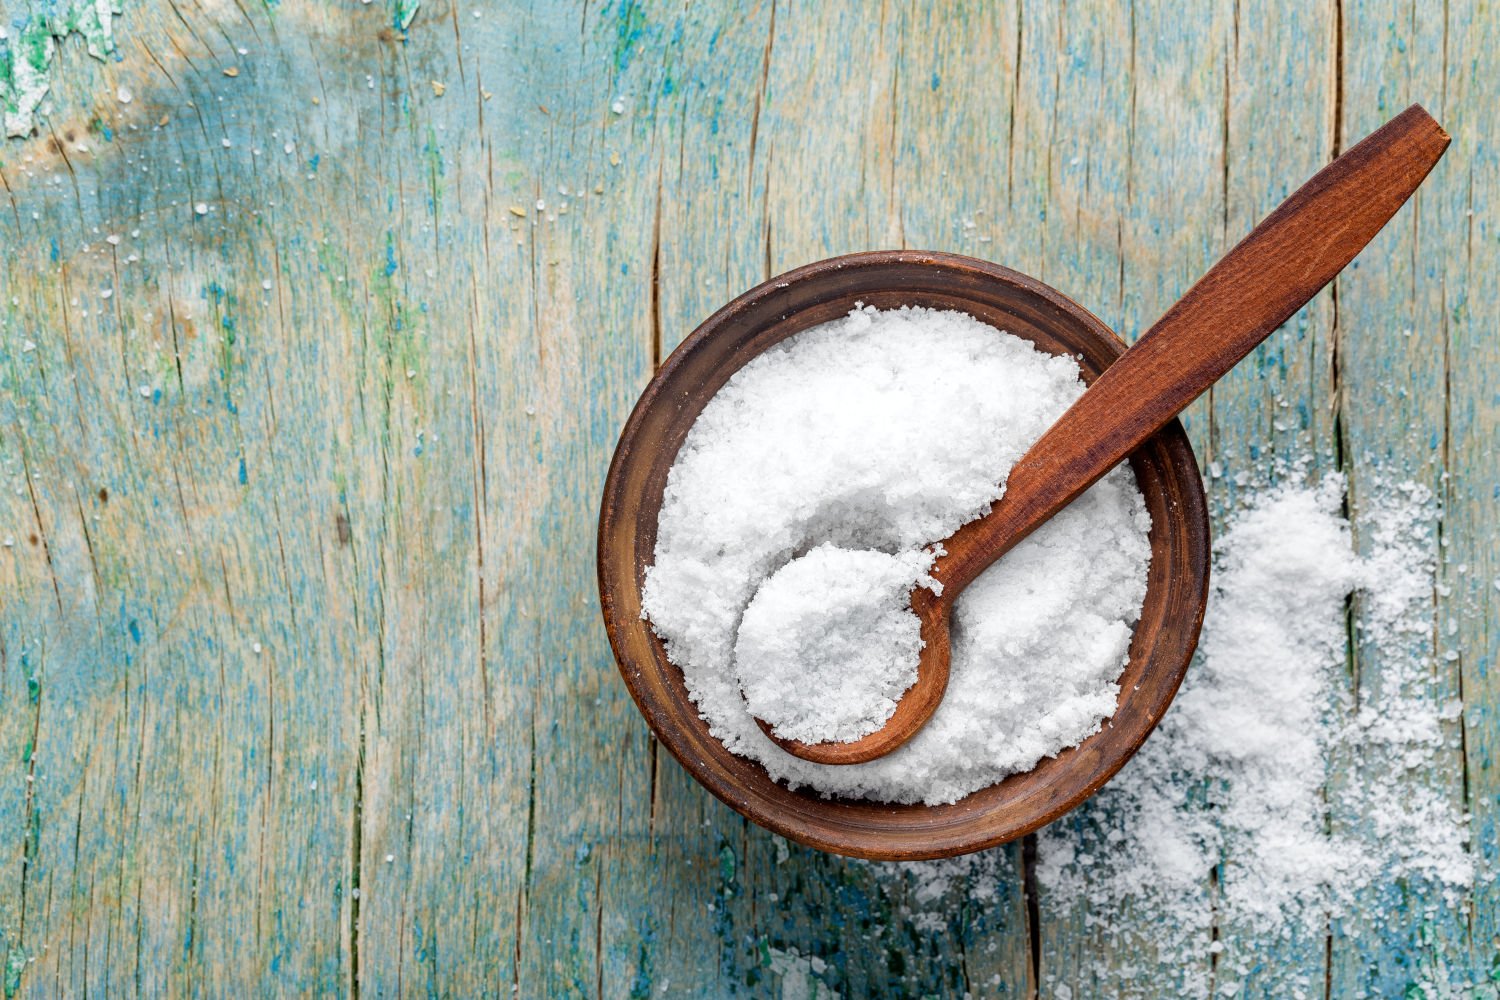
If you have read my deep dive on salt in pizza dough, you know that sodium chloride does a lot more than make dough taste good. Salt is the silent structural engineer of your entire crust. It tightens gluten, throttles yeast, preserves residual sugars for browning, and turns simple wheat flour into something that actually tastes like bread.
So what happens when you need to dial the salt back?
Maybe you are watching sodium for blood pressure reasons. Maybe someone in your household is on a restricted diet. Or maybe you just want to know whether you can build a great pizza with less salt than every recipe on the internet tells you to use. Whatever the reason, the challenge is real: if you take a standard dough sitting at 2.5% salt and just drop it to 1.0% without changing anything else, the result is usually a sticky, over-proofed mess that bakes up pale and tastes like flour paste.
This post is not going to tell you that low-sodium pizza dough is "just as good" as a fully salted formula. It is not. Salt does things in dough that nothing else fully replaces. But you can get surprisingly close - close enough that the pizza coming out of your oven is legitimately delicious - if you understand what salt was doing and make targeted adjustments to compensate.
Here is everything you need to build a low-salt pizza crust that actually works: the structural problems, the fixes, a complete recipe with baker's percentages, sauce and topping strategies to keep the whole pie balanced, and a troubleshooting guide for the issues you are most likely to hit.
What Salt Actually Does in Pizza Dough (The Short Version)
I covered this in detail in my salt in pizza dough guide, but here is the quick summary. Salt plays four distinct mechanical roles in dough, and each one creates a problem when you reduce it:
- Gluten structure - Salt ions interact with charged amino acids on gluten proteins, forcing them to align into a tight, elastic network. Less salt means a slacker, stickier, more extensible dough.
- Fermentation control - Salt creates osmotic pressure that slows yeast metabolism. Remove that brake and yeast tears through sugars at full speed.
- Browning fuel - Because salt keeps yeast in check, it preserves residual simple sugars in the dough. Those sugars drive the Maillard reaction and caramelization during baking. No sugar left, no browning.
- Flavor amplification - Salt suppresses bitter notes in wheat and amplifies the complex organic acids produced during fermentation. Without it, dough tastes flat and starchy.
Every single one of these problems is fixable. But you have to fix them individually, not just hope that dropping the salt will somehow work out.
Gluten Structure: Tighter Dough Without More Salt
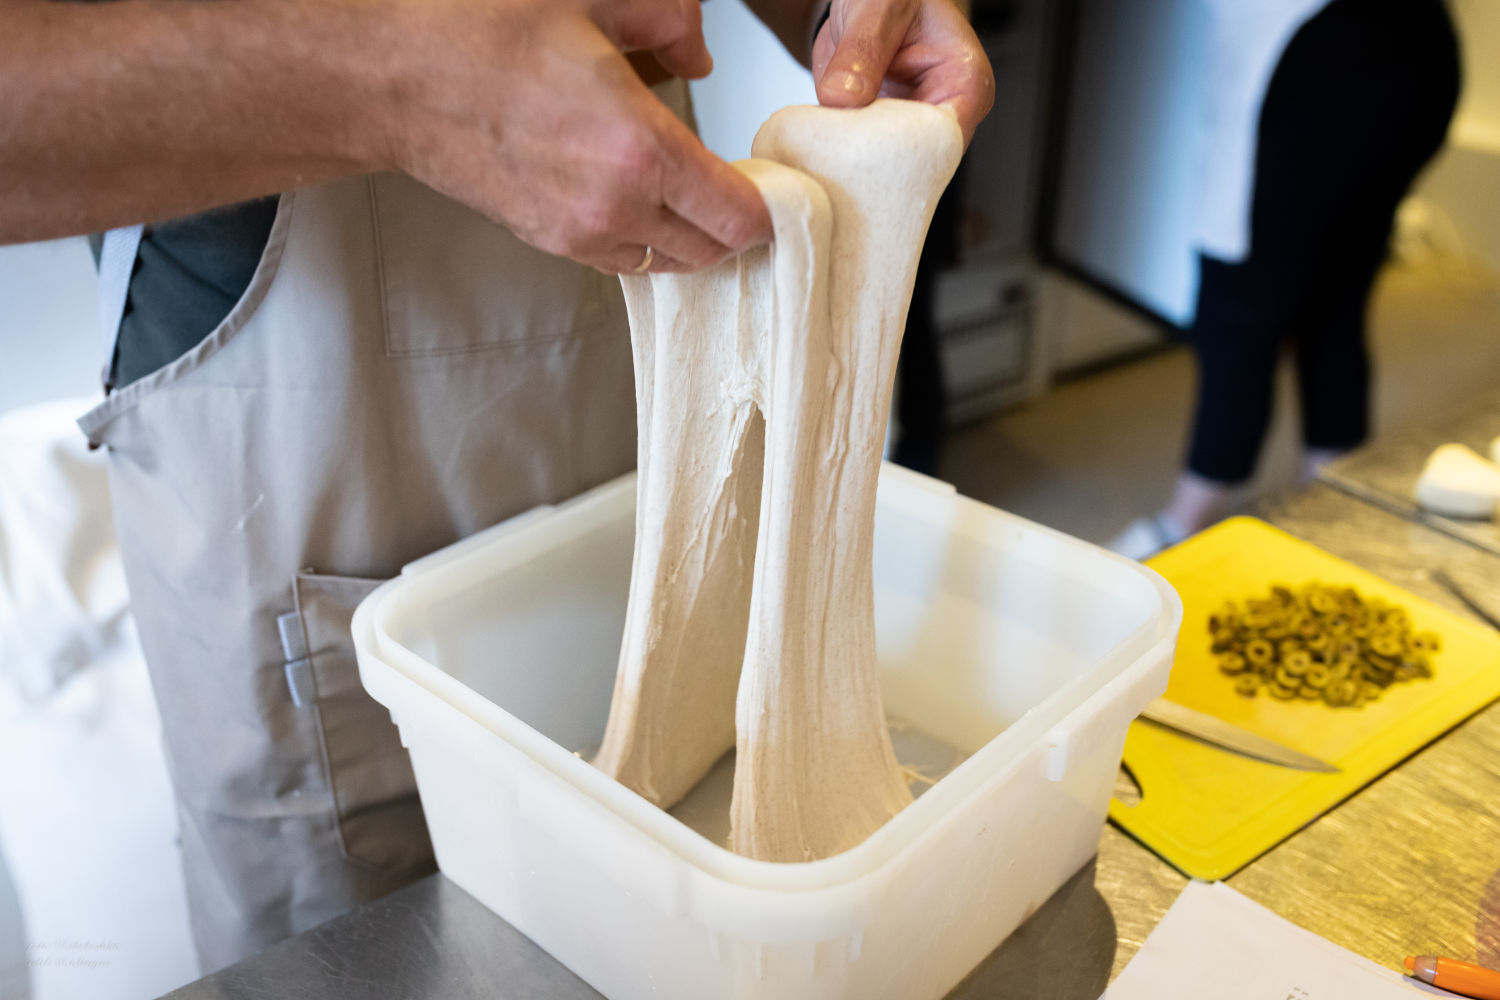
This is the one most people notice first. You mix up a low-salt batch and the dough feels wrong immediately - slack, wet, almost soupy compared to what you are used to. That is not in your head. Salt ions bind water and force gluten proteins into tighter alignment. Without enough salt, those proteins repel each other, the network stays loose, and the dough holds less water structurally.
Drop your hydration by 2% to 3%. If you normally run a high-hydration New York style dough at 65%, bring it down to 62% or 63% for a low-sodium batch. This compensates for the lost gluten tightness and keeps the dough manageable on the bench. You are not making a drier pizza - you are removing water that the weakened gluten network cannot hold properly anyway.
Use an autolyse. Mixing just the flour and water and letting them sit for 30 to 45 minutes before adding yeast and salt gives gluten proteins a head start on hydrating and organizing. This is standard practice in artisan bread baking, and it is even more valuable in low-salt formulas where the gluten network needs all the help it can get. If you are not familiar with autolyse, my autolyse guide walks through the full technique.
Consider vital wheat gluten for extreme reductions. If you are going below 1.0% salt - which I would only recommend if you genuinely need to for health reasons - adding 1% to 2% vital wheat gluten to the flour can restore some of the tensile strength that salt would normally provide. It changes the chew slightly (a bit more elastic, a bit less tender) but it is a legitimate structural tool when you have pulled most of the salt out.
Bread flour over all-purpose. This matters more than usual in low-salt doughs. Bread flour runs around 12% to 13% protein compared to all-purpose at 10% to 11%. That extra protein gives you more gluten to work with, which partially offsets the structural weakness from reduced salt. If you have been using all-purpose for your regular dough and it works fine, that is great, but switching to bread flour for a low-sodium batch is a free upgrade.
Fermentation Control: Slowing Down Yeast Without the Salt Brake
Salt is the primary speed governor on yeast activity. In a standard 2.5% salt dough, yeast is metabolizing sugars under significant osmotic pressure - salt pulls water out of yeast cells, keeping their reproductive and metabolic rates in check. Reduce the salt and that pressure drops. Yeast wakes up hungrier and works faster.
In practical terms, this means your dough will over-proof if you use the same yeast quantity and timing as your regular recipe. Proofing windows that normally give you a 2-hour cushion might collapse to 45 minutes.
Cut yeast by 25% to 30%. This is the single most important adjustment in a low-salt formula. If your standard recipe uses 1.0% instant dry yeast (relative to flour weight), drop to 0.7% or even 0.6%. You can dial this in with the PizzaLogic dough calculator once you know your target salt level and fermentation time.
Use colder water. Mixing with water at 40°F to 45°F drops the internal dough temperature immediately, giving you a longer window before yeast activity ramps up. This is especially important if you are doing a room temperature bulk ferment before moving the dough to the fridge.
Watch your cold ferment closely. If you rely on cold fermentation (and I think you should for low-sodium doughs - more on that below), keep in mind that the dough takes longer to chill down to dormancy without salt slowing things down. During those first 6 to 12 hours in the fridge, yeast activity stays elevated compared to a standard formula. You may find that a dough you normally cold ferment for 72 hours works better at 48 hours with reduced salt.
Preferments are your friend. A poolish or biga pre-ferments a portion of the flour with minimal yeast overnight, developing flavor through slow fermentation rather than relying on a high yeast load in the final dough. This approach works beautifully in low-sodium formulas because the preferment does a lot of the flavor and structural heavy lifting before salt even enters the picture.
Browning: Getting Color Back on a Low-Salt Crust
This is the problem that catches people off guard. They nail the dough handling and fermentation timing, open the oven, and pull out a pizza that looks like it baked at 300°F instead of 550°F. Pale, anemic, no char, no leopard spotting - just a vaguely cooked wheat disc.
Here is why: in a standard dough, salt slows yeast enough that there are still simple sugars left in the dough when it hits the oven. Those sugars fuel the Maillard reaction (the complex browning chemistry that creates crust flavor) and caramelization (the simpler sugar-to-brown process that creates crispy edges). In a low-salt dough, uninhibited yeast has eaten through nearly all available sugars before bake time. No fuel, no browning.
Add 1.0% to 1.5% non-fermentable or slow-fermenting sugar. You have a few options here:
- Non-diastatic malt powder is the most traditional choice. It adds maltose that yeast cannot metabolize as quickly as glucose, so some sugar survives to bake time. It also contributes a subtle toasty flavor. Start at 1.0% of flour weight.
- Honey works similarly - it contains fructose and glucose along with more complex sugars that metabolize at different rates. It adds a faint sweetness that plays well with tomato sauce. Use 1.0% to 1.5%.
- Granulated sugar is the simplest option. Plain sucrose. Yeast will eat some of it, but if you add 1.0% to 1.5% on top of the reduced yeast load, there will be enough left for browning.
- Diastatic malt powder (different from non-diastatic) contains active enzymes that break starch into sugar during fermentation. It is powerful - a little goes a long way. Use 0.5% maximum, and only if you are comfortable managing a slightly stickier dough. This is more of an advanced move.
One note: do not overdo the sugar. More than 2.0% starts to shift the flavor profile away from pizza crust and toward sandwich bread. You want just enough to restore browning, not enough to taste sweet.
Flavor: Replacing What Salt Brought to the Table
This is the hardest problem to solve because salt does something to flavor that nothing else exactly replicates. Salt suppresses bitter compounds in wheat flour and amplifies savory, umami, and acidic notes. Without it, dough tastes flat - not bad exactly, but one-dimensional. Like eating flour.
The good news is that fermentation itself produces a huge range of flavor compounds. The longer and slower your dough ferments, the more lactic acid, acetic acid, ethanol, and aromatic esters accumulate. In a standard recipe, salt amplifies those flavors. In a low-salt recipe, you need to generate more of them in the first place.
Use a preferment. I keep coming back to this because it solves multiple problems at once. A 12 to 14 hour poolish develops significant organic acid content and complex flavors before you even mix the final dough. Those acids also strengthen gluten (another win for low-salt doughs) and contribute a subtle tang that compensates for the missing salt bite.
Extend cold fermentation. A standard 24-hour cold proof is fine for most recipes, but low-salt doughs benefit from 36 to 48 hours in the fridge. The extended time allows enzymatic activity and slow bacterial fermentation to develop deeper flavor. Monitor the dough - if it has risen dramatically and the surface looks bubbly and fragile after 36 hours, it is ready regardless of what the clock says.
Consider sourdough. A natural sourdough starter brings lactic and acetic acid bacteria along with wild yeast, producing a flavor profile that is more complex than commercial yeast alone. The acidity itself mimics some of what salt does in terms of flavor perception - it makes the crust taste more interesting, more alive. You will need to adjust your hydration and timing if you switch from commercial yeast to sourdough, but the flavor payoff in a low-sodium context is substantial.
A small amount of olive oil helps. Adding 2.0% to 3.0% olive oil (relative to flour weight) to the dough contributes fat-soluble flavor compounds and a richness on the palate that compensates for missing salt. It also improves the crumb texture slightly, giving you a more tender bite that distracts from the reduced seasoning. This is standard in New York style and many home pizza formulas anyway.
Salt Percentages: Finding Your Floor
In baker's math, standard pizza doughs land between 2.0% and 3.0% salt relative to flour weight. Neapolitan specs call for 2.5% to 3.0%. New York style typically runs 2.0% to 2.5%. When building a low-sodium pizza dough, there are three practical tiers worth understanding:
| Target | Salt (Baker's %) | What It Tastes Like | What You Need to Change |
|---|---|---|---|
| Standard | 2.0% - 2.5% | Full-flavored, standard pizza crust | Nothing - standard process |
| Moderate reduction | 1.4% - 1.6% | Slightly milder, most people will not notice | Drop hydration 1-2%, reduce yeast 15%, optional sugar addition |
| Low-sodium floor | 1.0% - 1.2% | Noticeably less salty, but still legitimately good with adjustments | Drop hydration 3%, reduce yeast 25-30%, preferment required, add 1% sugar or malt |
| Extreme reduction | Below 1.0% | Structurally challenging - this is specialized territory | All of the above plus vital wheat gluten, very tight process control |
I have found that 1.2% salt is the practical threshold for traditional baker's yeast doughs that still taste and perform like pizza. You can go lower, but below 1.0% the dough loses enough structural integrity that you are fighting the process at every stage. If you need to go that low, it is doable, but be prepared for a learning curve.
For most people looking to cut sodium, 1.4% to 1.6% is the sweet spot. That is a 30% to 40% sodium reduction compared to a standard recipe - meaningful from a dietary standpoint - with minimal changes to your process and almost no perceptible loss in flavor or performance.
Full Recipe: Low-Sodium Pizza Dough with Poolish (1.2% Salt)
This is a 62% hydration formula built around a poolish preferment, designed to yield two 250g dough balls for 12-inch pizzas. It compensates for the low salt with extended fermentation, reduced yeast, added honey for browning, and olive oil for flavor depth. You can scale this up using the PizzaLogic dough calculator.
Poolish (Mix 12-14 Hours Before Final Dough)
| Ingredient | Weight | Baker's % |
|---|---|---|
| Bread flour | 100g | 100% |
| Water (room temperature) | 100g | 100% |
| Instant dry yeast | 0.2g (a pinch) | 0.2% |
Stir flour, water, and yeast in a jar or container until combined. Cover loosely (not airtight - CO2 needs to escape) and leave at room temperature for 12 to 14 hours. It is ready when the surface is covered in small bubbles and it smells pleasantly yeasty and slightly tangy. If you are new to poolish, my poolish guide has more detail on timing and signs of readiness.
Final Dough
| Ingredient | Weight | Notes |
|---|---|---|
| Bread flour | 200g | |
| Water (cold, 40-45°F) | 86g | Chilled to control yeast |
| Poolish (all of it) | 200g | Contains 100g flour + 100g water |
| Fine sea salt | 3.6g | 1.2% of total flour (300g) |
| Instant dry yeast | 0.5g | |
| Olive oil | 6g | ~2.0% of flour |
| Honey or non-diastatic malt powder | 3g | ~1.0% of flour |
Total Baker's Percentages (Based on 300g Total Flour)
| Ingredient | Baker's % |
|---|---|
| Flour | 100% (300g) |
| Water | 62% (186g total, including poolish water) |
| Salt | 1.2% (3.6g) |
| Yeast | ~0.23% (0.7g total, including poolish yeast) |
| Oil | 2.0% (6g) |
| Honey/Malt | 1.0% (3g) |
Sodium Content
For anyone tracking numbers: 3.6g of fine sea salt contains roughly 1,400mg of sodium, split across two dough balls. That puts each crust at approximately 700mg of sodium - compared to roughly 1,400 to 1,500mg per crust in a standard 2.5% salt recipe. If you also reduce sodium in your sauce and toppings (more on that below), you can build a complete pizza that sits well under 1,000mg total per serving.
Process: Step by Step
1. Combine liquids and preferment. Pour the cold water, honey, and all of the poolish into a mixing bowl. If using malt powder instead of honey, whisk it into the cold water first. Stir gently to break up the poolish - it does not need to be perfectly smooth.
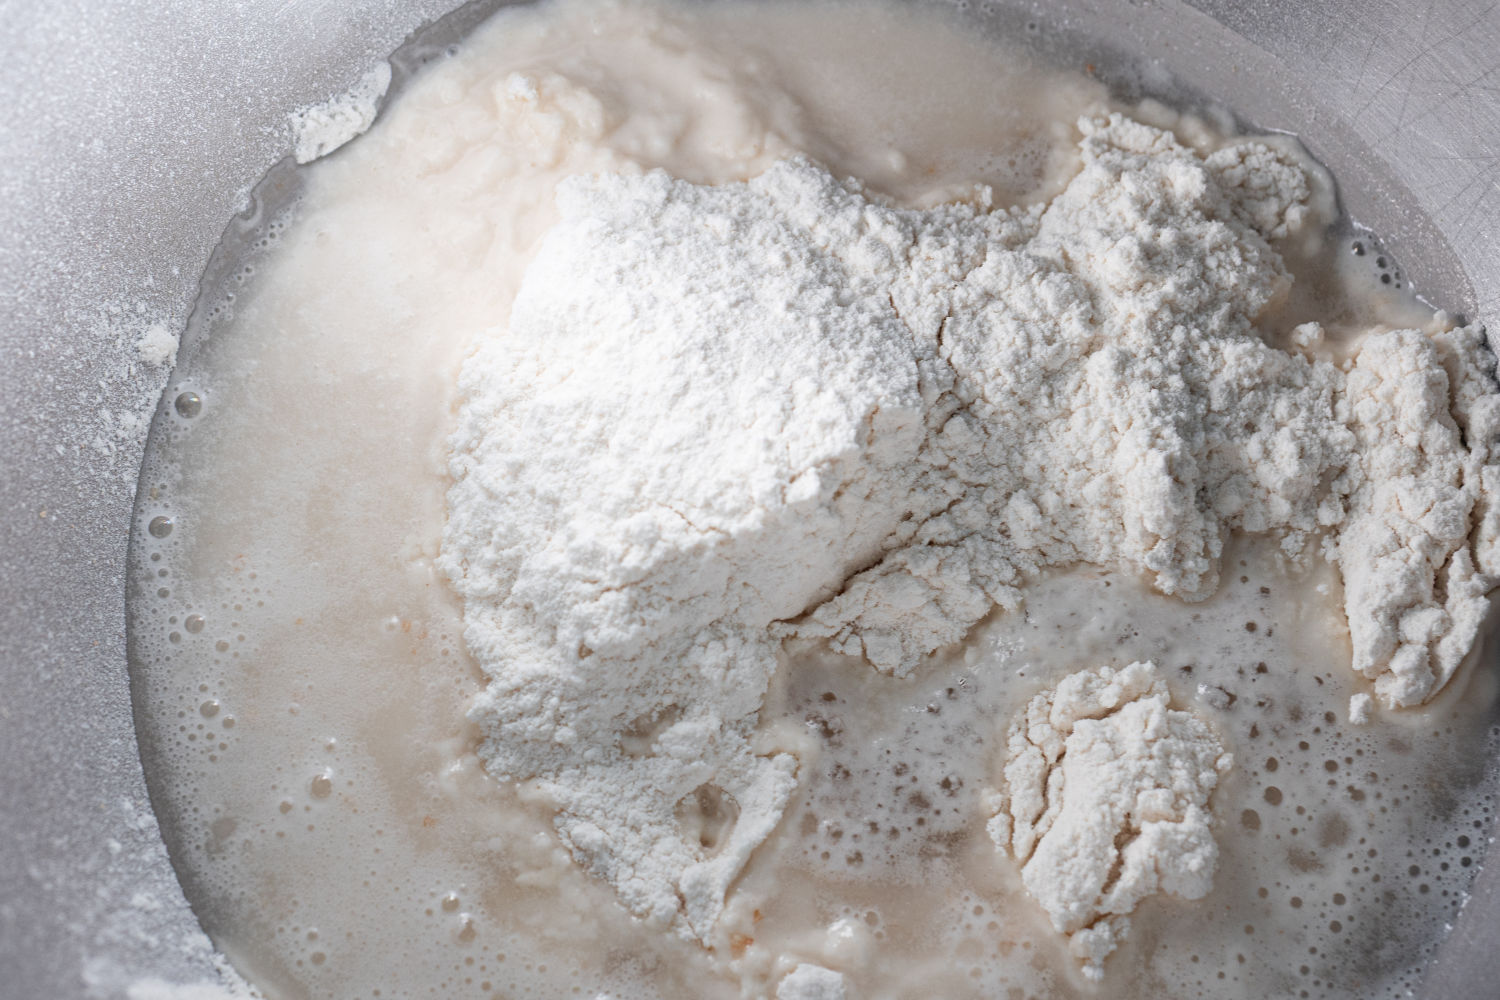
2. Add flour and autolyse. Add the 200g of bread flour and mix with a fork or your hand until no dry patches remain. It will look rough and shaggy. That is fine. Cover the bowl and let it rest for 30 minutes. This autolyse window lets the flour fully hydrate and the gluten proteins begin organizing before you add salt or apply mechanical force. In a low-salt dough, this passive gluten development matters more than usual.
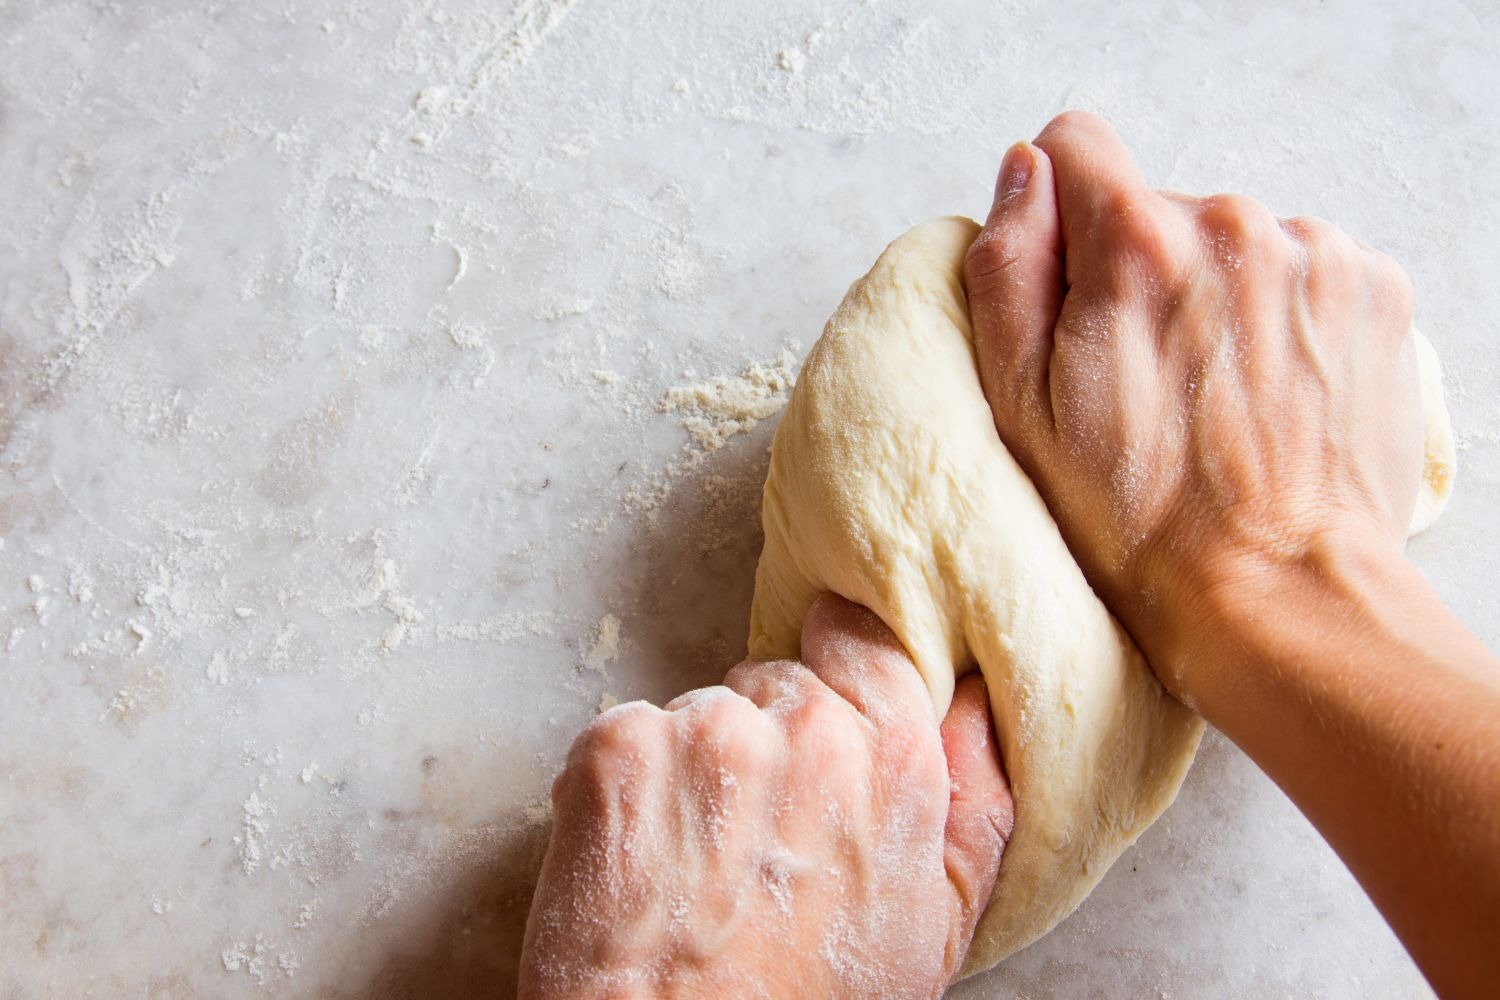
3. Add salt and oil, then knead. Sprinkle the 3.6g of fine sea salt evenly over the surface and dimple it in with your fingertips. Knead for about 2 minutes until the salt is incorporated. Add the olive oil and continue kneading for another 4 to 5 minutes until the dough is smooth and slightly tacky but not aggressively sticky. It will feel softer than a standard 2.5% salt dough - that is expected. You should be able to stretch a small piece thin enough to see light through it without it tearing (the windowpane test). If it tears easily, give it a 10-minute rest and try again.
4. Bulk ferment. Place the dough in a lightly oiled container, cover, and let it sit at room temperature for 1 hour. You should see moderate rise and some bubbles on the surface, but it should not double in volume during this stage.
5. Divide and shape. Turn the dough out onto a lightly floured surface and divide into two pieces of roughly 245g to 250g each. Shape each piece into a tight ball by pulling the edges underneath and pinching the seam. Place each ball seam-side down into a lightly oiled container or onto a sheet pan with space between them. Cover.
6. Cold proof. Refrigerate for 24 to 48 hours. Check on the dough at the 24-hour mark - it should have risen noticeably but not be pressing against the lid. If it looks dramatically over-risen at 24 hours, your kitchen may have been warm during the initial ferment, or your yeast quantity was slightly high. Use it sooner rather than later if this happens.
7. Warm up and stretch. Remove the dough from the fridge 1.5 to 2 hours before you plan to bake. Let it come to room temperature on the counter. This relaxes the gluten and makes stretching easier. Low-salt dough is more extensible than standard dough, so handle it gently - it may stretch thinner than you expect. Work on a well-floured surface (semolina or a 50/50 blend of semolina and bread flour works well for launch surface).
8. Top and bake. Sauce, cheese, and toppings of your choice. Bake on a fully preheated pizza steel or pizza stone at your oven's maximum temperature - 500°F to 550°F for a home oven. If you are using an Ooni or another outdoor pizza oven, you can push higher, but watch the dough closely. Low-salt crusts can go from golden to charred more quickly than you expect because the added sugar caramelizes fast at extreme temperatures.
Low-Sodium Pizza Sauce
The crust gets most of the attention in low-sodium pizza recipes, but sauce is actually the easier place to cut sodium without sacrificing flavor. Most jarred pizza sauces contain 300mg to 500mg of sodium per quarter-cup serving, and when you spread a half cup across a pizza, that is 600mg to 1,000mg of sodium from sauce alone - sometimes more than the crust itself.
Making your own sauce takes about 5 minutes and lets you control exactly how much (or how little) salt goes in.
Simple Low-Sodium Pizza Sauce
Start with a 28-ounce can of whole San Marzano tomatoes (look for the DOP certification if you can find it). Check the label - some brands add salt, some do not. Cento, Bianco DiNapoli, and several store brands offer no-salt-added canned tomatoes, which is ideal for full control.
Crush the tomatoes by hand or pulse them briefly in a food processor (you want some texture, not a puree). Add a pinch of fine sea salt - roughly 1/4 teaspoon for the whole can, which works out to about 150mg of sodium for the batch. For a 12-inch pizza, you will use maybe a third of that, putting your per-pizza sauce sodium around 50mg. Compare that to 300mg or more from a jarred sauce.
Now build the flavor:
- Acidity is your best friend. A teaspoon of red wine vinegar or a squeeze of fresh lemon juice brightens the tomato flavor in a way that mimics what salt normally does. Acid wakes up your palate and makes everything taste more vivid.
- Garlic. One or two cloves, finely grated or microplaned into the raw sauce. The raw garlic mellows during baking but adds pungent depth.
- Dried oregano and fresh basil. Classic for a reason. The aromatic oils carry well through the bake.
- A pinch of sugar (optional). If your tomatoes taste acidic or tinny, a tiny pinch of sugar balances them out. This is not about making sweet sauce - it is about rounding off harsh edges.
- Red pepper flakes. A small pinch adds warmth that stimulates your palate without adding sodium.
- Good olive oil. A tablespoon of robust extra virgin olive oil stirred into raw sauce adds body and fat-soluble flavor compounds.
This uncooked sauce goes directly on the dough before baking. It cooks in the oven and tastes fresher and more vibrant than any jarred alternative - and at a fraction of the sodium.
If you are buying sauce instead of making it, look specifically for "no salt added" varieties and season them yourself. You will get a much better result than trying to find a jarred sauce that is both low-sodium and tastes good out of the jar.
Cheese and Topping Strategy for Low-Sodium Pizza
Cheese is the biggest sodium contributor on most pizzas, and it is worth paying attention to if you are building a genuinely low-sodium pie.
Sodium in Common Pizza Cheeses
Here is what you are working with per ounce (28g):
| Cheese | Sodium per Ounce | Notes |
|---|---|---|
| Fresh mozzarella | ~90mg | Lowest sodium option, great flavor |
| Low-moisture part-skim mozzarella | ~175mg | Standard pizza cheese |
| Full-fat low-moisture mozzarella | ~180-200mg | The classic melt-and-stretch |
| Parmesan (Parmigiano-Reggiano) | ~330mg | High sodium - use as accent, not base |
| Feta | ~260mg | Another accent cheese |
| Provolone | ~245mg | Common in some NY shops |
Fresh mozzarella is the clear winner for low-sodium pizza. It runs roughly half the sodium of low-moisture mozzarella and tastes fantastic - softer, milkier, more subtle. The trade-off is that fresh mozz releases more moisture during baking, so you either need to slice it thin and blot it dry, or accept a slightly wetter center (which works fine on a Neapolitan-style pie with a shorter bake time).
If you prefer the stretch and browning of low-moisture mozzarella, just use less of it. Dropping from 6 ounces to 4 ounces per pizza reduces sodium by a third while still giving you full coverage. You can also blend fresh and low-moisture mozz - the fresh adds moisture and mild flavor while the low-moisture handles the browning and stretch.
Toppings That Add Flavor Without Sodium
One of the secrets to great low-sodium pizza is building flavor through toppings and finishing touches rather than relying on salty crust and cheese.
- Fresh arugula. Pile it on after baking. The peppery bite adds dimension.
- Roasted garlic. Squeeze soft roasted garlic cloves over the hot pizza. Deeply savory without sodium.
- Caramelized onions. Slow-cooked with no salt until deeply golden. Natural sweetness and umami.
- Fresh herbs. Basil, oregano, thyme - torn and scattered over the finished pizza.
- Mushrooms. Naturally rich in umami compounds (glutamic acid). Sauteed mushrooms add meatiness and depth.
- Freshly cracked black pepper. More impactful than most people realize on a low-salt pizza.
- Finishing oil. A drizzle of high-quality spicy or grassy extra virgin olive oil over the hot crust right out of the oven. This is maybe the single most effective flavor trick for low-sodium pizza. The oil adds rich mouthfeel and aromatic complexity that fills the gap left by reduced salt.
- Balsamic reduction. A light drizzle adds sweetness and acidity simultaneously.
- Toasted fennel seeds. Crush them lightly and scatter on top. Anise warmth that pairs beautifully with tomato sauce and sausage-style toppings.
- Nutritional yeast. Sounds odd on pizza, but a light dusting adds a cheesy, umami-forward flavor with zero sodium. It works especially well on white pizzas or as a Parmesan substitute.
Salt Substitutes: Do They Work in Pizza Dough?
Potassium chloride is the most common salt substitute, and the honest answer is that it works okay in pizza dough - with caveats.
The 50/50 approach. Blending potassium chloride with regular fine sea salt at a 1:1 ratio and using the blend at your target percentage (say, 1.2% total) gives you roughly half the sodium of the same weight of pure sodium chloride. The potassium chloride provides some of the same osmotic and structural effects as regular salt, though not at the same strength. Most people cannot detect the metallic or bitter aftertaste that pure potassium chloride can have when it is diluted to a 50/50 blend at pizza dough concentrations.
Pure potassium chloride is trickier. At higher concentrations or in high-heat applications (like pizza baking at 700°F+), some people pick up a metallic or chemical off-note. If you use a home pizza oven, I would stick with the 50/50 blend rather than going full substitution.
MSG (monosodium glutamate). This does contain sodium (about 12% by weight, compared to salt's 39%), but it adds intense umami flavor at very small quantities. A tiny pinch - maybe 0.1% to 0.2% of flour weight - stirred into the dough or sauce can make a low-sodium pizza taste dramatically more savory without adding significant sodium. It does not replicate salt's structural or fermentation roles though, so it is purely a flavor tool.
Herbs and spices in the dough itself. Some bakers fold dried oregano, garlic powder, or onion powder directly into low-salt dough. This adds aromatic complexity to the crust and can make the lower salt level less noticeable. Use a light hand - 0.5% to 1.0% of flour weight total. Too much and the crust tastes like seasoned breadsticks rather than pizza.
Style-Specific Considerations
Not every pizza style responds to salt reduction the same way. Here is what to expect for the most common home styles.
Neapolitan. Traditional Neapolitan dough is simple - flour, water, salt, yeast - and the AVPN spec calls for 2.5% to 3.0% salt. Dropping to 1.2% in a Neapolitan formula is the most noticeable change because there are no other ingredients masking the flavor shift. Compensate with a long cold ferment (48+ hours) and use the poolish-based formula above rather than a straight dough. The leopard spotting on the cornicione will still develop with added malt or honey, but you may need to adjust your oven technique slightly - those sugars char faster than natural residual sugars at Neapolitan temperatures.
New York style. NY dough typically includes oil and sugar already, which means two of the low-sodium compensations are already built in. This is arguably the easiest style to adapt. Drop the salt, reduce the yeast, and extend your cold ferment slightly. You may not need to add extra sugar if your recipe already includes 1% or more.
Detroit and pan styles. The higher fat content (from oiled pans and typically higher dough oil percentages) helps mask reduced salt flavor-wise. Detroit style also benefits from the caramelized cheese edges (frico), which are deeply savory and help compensate for less salt in the crust itself. This is a forgiving style for low-sodium experiments.
Thin and crispy (bar style, tavern cut). These styles rely heavily on browning and crunch for their appeal, so the sugar/malt addition is critical. Without it, you get a pale, cracker-like crust that tastes like cardboard. With the browning fix in place, thin crusts actually handle salt reduction fairly well because the crisp texture provides its own sensory satisfaction.
Troubleshooting Low-Sodium Pizza Dough
Dough is too sticky to handle. Your hydration is too high for the reduced salt level. Drop water by another 1% to 2%. Also make sure you are using bread flour, not all-purpose - the protein difference matters more in low-salt doughs.
Dough over-proofed in the fridge. Your yeast was too high or the dough went into the fridge too warm. Cut yeast further (try 0.2% total) and use colder mixing water. If the dough has over-proofed significantly (collapsed, large irregular bubbles, sour smell), it is better to use it immediately as a flatbread than to try to bake it as pizza.
Crust came out pale and soft. You did not add enough sugar or malt to compensate for the yeast eating through available sugars. Bump to 1.5% honey or malt and make sure your oven and steel/stone are fully preheated - give it an extra 15 to 20 minutes beyond when the oven says it has reached temperature.
Crust tastes bland. This is the most common complaint and usually means the dough did not ferment long enough to develop adequate flavor. Extend your cold ferment to 48 hours, or switch to a poolish or biga-based formula if you are using a straight dough. Also reconsider your toppings - a finishing drizzle of good olive oil and freshly cracked black pepper over the hot pizza makes a bigger difference than you might expect.
Dough tears when stretching. Low-salt dough is more extensible, but if it tears, the gluten has not developed sufficiently. Make sure you are doing a proper autolyse (30 minutes minimum) and kneading thoroughly after adding salt. Also let the dough come fully to room temperature before stretching - cold dough is tighter and more prone to tearing.
Crust is browning too fast or burning. If you added sugar or malt and you are baking at very high temperatures (in an Ooni or similar), the added sugars can caramelize and char faster than you are used to. Reduce your launch-to-pull time or rotate the pizza more frequently. At home oven temperatures (500-550°F) this is rarely an issue.
Is Low-Sodium Pizza Worth It?
Here is the honest take: a 1.2% salt pizza crust is not identical to a 2.5% salt crust. The flavor is milder, the structure requires more attention, and you need to think more carefully about every component of the pizza to keep the total experience satisfying. Salt does things that nothing else perfectly replicates.
But a well-made low-sodium pizza is still genuinely good pizza. With a poolish for flavor depth, reduced yeast for fermentation control, a touch of honey for browning, and smart topping choices, you can build a pie that most people would enjoy without ever thinking about the sodium content.
The key is to not treat it as just a subtraction. Taking salt out and changing nothing else gives you bad pizza. Taking salt out and adjusting your hydration, yeast, preferment, sugar, and toppings to compensate gives you a different pizza - one that happens to work within a sodium budget.
Use the PizzaLogic dough calculator to dial in your formula, and hit the adjustments for each tier in the table above. Start at 1.4% to 1.6% if this is your first attempt. You might be surprised how little you miss the salt.